

How to Waterproof WPC Cladding Corners and Windows?


Author
With years of experience in exterior building materials, I specialize in advanced wood-plastic composite (WPC) technologies. My goal is to help architects, contractors, and project managers navigate the complexities of modern decking solutions. By bridging the gap between structural engineering and sustainable design, I share practical insights to ensure your outdoor projects achieve maximum durability and the best possible ROI.
Marie R. Winters


In commercial architectural engineering, the broad, uninterrupted spans of exterior walls are relatively straightforward to install. The true test of a building's envelope—and the primary source of catastrophic water intrusion—lies in the detailing of its transition zones. Penetrations such as windows, doors, HVAC vents, and sharp architectural corners represent highly vulnerable areas. When subjected to wind-driven rain and hydrostatic pressure, improperly sealed edges allow moisture to bypass the primary exterior defense, leading to severe rot, mold, and structural degradation within the wall cavity.
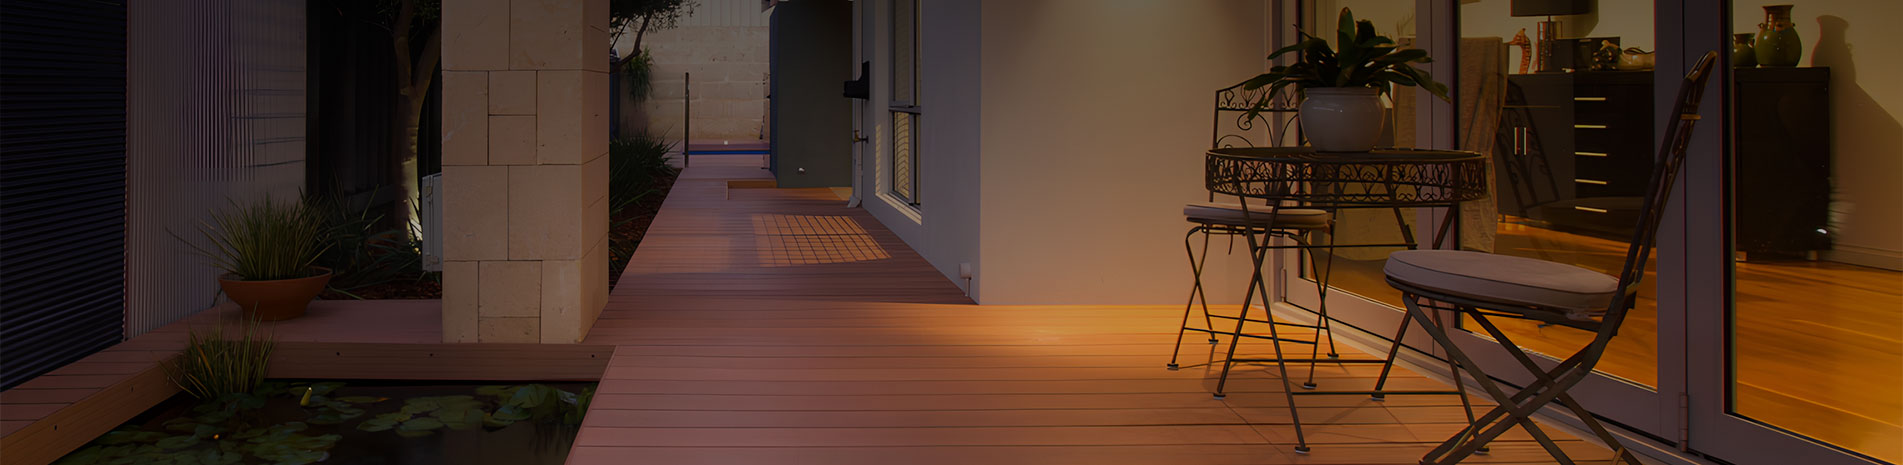
Many contractors mistakenly believe that waterproofing these vulnerable areas depends entirely on the heavy application of silicone caulking on-site. In reality, flawless edge detailing begins with the core stability of the primary material. Specifying high-density Commercial Grade WPC Wall Cladding provides the foundational dimensional stability required to guarantee a watertight, aesthetically perfect installation. This comprehensive technical guide explains the physics of water management and the exact methodologies required to solve the most difficult exterior transitions.
The Physics of Water Intrusion and Exposed Cut Edges
To waterproof a building, one must understand how water moves. Moisture enters a building envelope through four primary mechanisms: gravity, capillary action, surface tension, and air pressure differences. When cladding meets a window frame or an outside corner, the profile must be cut. This process removes the factory-sealed surface and exposes the internal core of the composite material to the environment.
If a developer specifies low-grade composite materials with a highly porous, loosely bound wood-fiber core, these exposed cut edges will act like a sponge. Through capillary action, rainwater and ambient humidity are slowly sucked into the core. Over several freeze-thaw cycles, this causes the ends of the material to swell, warp, and visually degrade. Upgrading to premium Coextruded Exterior WPC Wall Cladding drastically mitigates this risk. This advanced material is manufactured with a highly dense internal matrix and a 360-degree protective polymer shield. Even when cut on-site, the high-density core severely restricts capillary water absorption, ensuring the material remains straight and secure around tight window frames and complex corners.
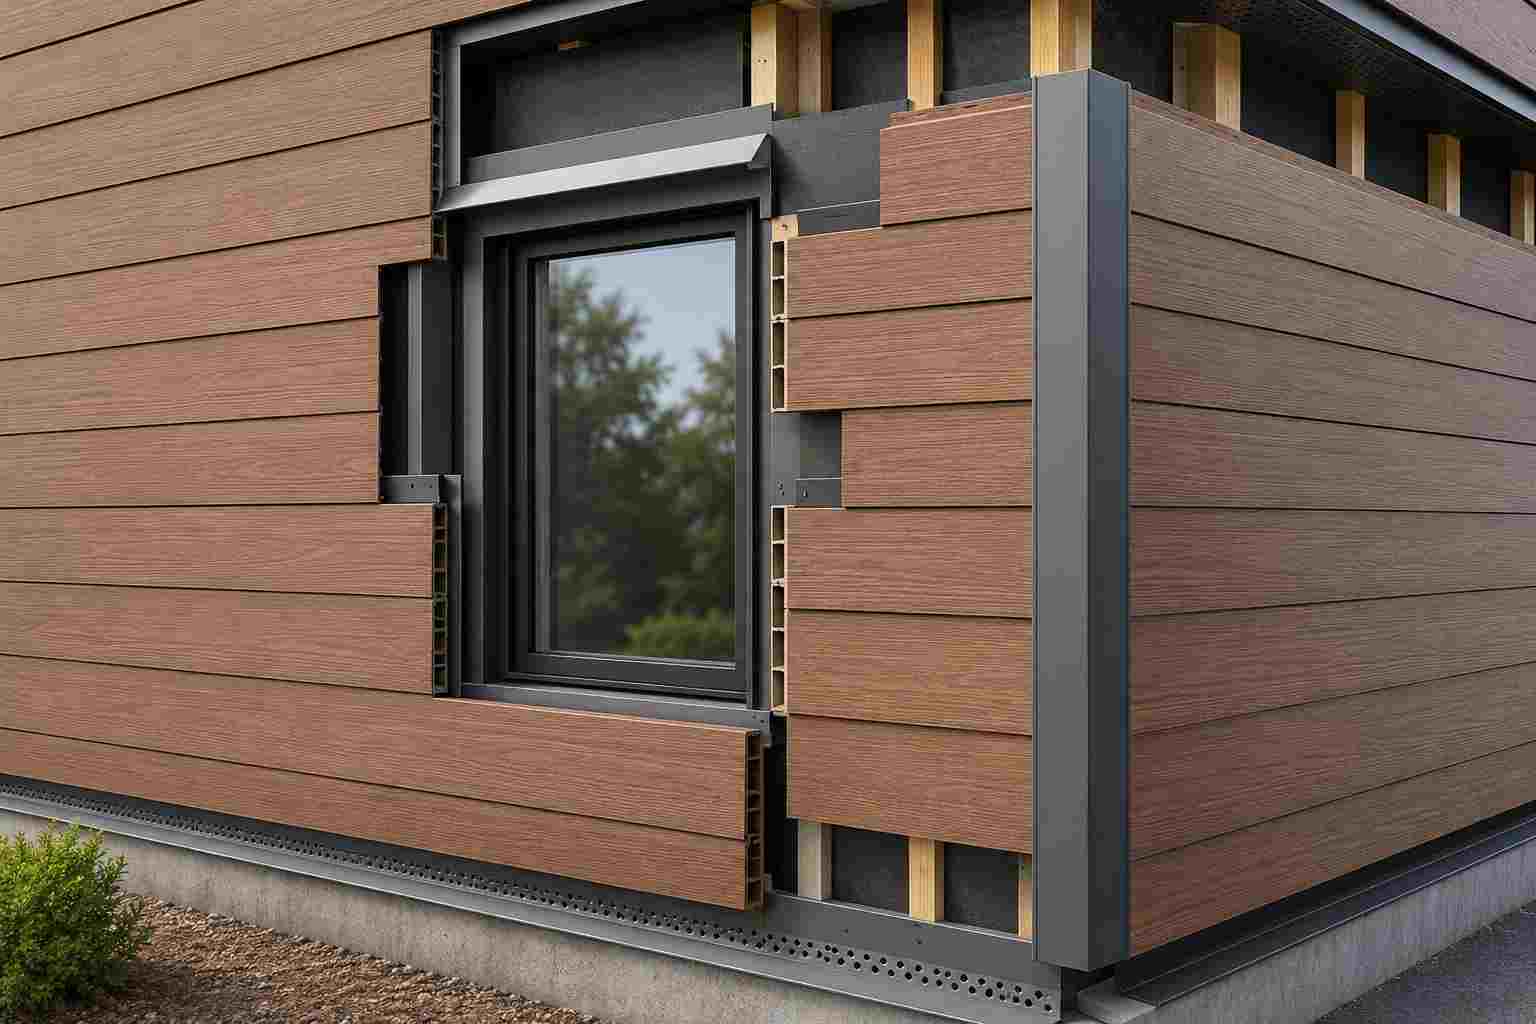
Window Detailing: The Z-Flashing and J-Channel Protocol
Windows present the most severe risk of water pooling in any exterior design. A high-quality installation does not rely on the cladding itself to waterproof the window; instead, it relies on a coordinated system of flashing and expansion management.
The Window Head (Top): Gravity dictates that water running down the face of the cladding must be aggressively diverted away from the top of the window frame. Installers must use a rigid metal Z-flashing (drip cap). Crucially, this flashing must be integrated in a "shingle fashion" underneath the building's weather-resistant barrier (WRB). The cladding sitting directly above the window must never rest directly on this metal flashing. Installers must leave a precise, consistent 10mm (3/8 inch) clearance gap. This gap prevents standing water from touching the bottom edge and ensures proper ventilation of the rainscreen cavity above the window.
The Window Jambs (Sides): To manage the cut ends alongside the vertical window frames, utilizing J-channels is highly recommended. Sliding the cut ends of the cladding directly into a metal or composite J-channel serves a dual purpose. First, it physically hides the raw, cut edges from view. Second, it allows for concealed thermal expansion. The cladding can expand and contract inside the deep channel without buckling, creating a flawless, shadow-line aesthetic that standard silicone caulking will eventually break and fail to achieve.
Conquering Outside Corners: Thermal Expansion vs. Aesthetics
Outside corners dictate the final architectural sharpness of the building. Because wood-plastic composites naturally expand and contract along their length with temperature fluctuations, locking two profiles tightly together at a 90-degree angle without room for movement is a critical engineering flaw.
Many inexperienced contractors attempt to perform a 45-degree miter cut, joining the two pieces seamlessly to form a sharp corner. While this looks stunning on the day of installation, it is highly discouraged for exterior applications. The kinetic energy of thermal contraction during winter will inevitably cause the miter joint to rip open, permanently exposing the internal hollow cores and allowing moisture directly into the corner framing.
The ultimate, watertight solution relies entirely on the quality of Waterproof Outdoor WPC Wall Cladding. Because premium cladding does not warp or twist under stress, installers can confidently leave a 5mm to 10mm expansion gap where the edges meet at the corner, and then secure a standard L-trim directly over the gap. This allows the material to "breathe" underneath the trim. It completely waterproofs the vulnerable corner, safely hides the expansion joints, and delivers a robust, framed appearance that protects the facade from blunt physical impact.
Base and Top Terminations: Ground Clearance and Soffit Ventilation
Edge detailing is not limited to windows and corners; how the cladding starts at the foundation and ends at the roofline is equally critical for moisture management.
Base Termination: The cladding should never be installed flush with the soil, concrete patio, or landscaping. Splashing rain and snow accumulation will subject the bottom edges to continuous moisture saturation. Industry standards require a minimum ground clearance of 150mm (6 inches) from soft soil, and 50mm (2 inches) from hardscapes. Furthermore, a perforated starter strip or insect mesh must be installed at the base to prevent rodents and wasps from entering the air cavity behind the wall, while still allowing water to weep out safely.
Top Termination (Soffit): Where the top profile meets the roof soffit, a continuous air gap must be maintained. Sealing the top of the cladding tight against the roof completely destroys the convective airflow of the rainscreen system. The hot air trapped behind the wall will cause the entire facade to warp severely under extreme thermal stress. A ventilated trim piece should always be used to conceal the gap while allowing hot air to exhaust freely.
| Transition Zone | Common Installation Error | Professional Engineering Solution |
|---|---|---|
| Window Head | Material rests directly on flashing, wicking moisture upward. | Maintain a strict 10mm gap above Z-flashing for drainage and ventilation. |
| Outside Corners | 45-degree miter cuts split open during winter contraction. | Use L-Trims to conceal a 5-10mm thermal expansion gap. |
| Window Jambs | Heavy caulking cracks as the profile expands and contracts. | Implement J-Channels to allow concealed movement without caulking. |
| Foundation Base | Installed flush to ground, causing prolonged water submersion and insect ingress. | 150mm ground clearance combined with a perforated ventilation/insect mesh. |
The Value of Strict Detailing Standards
A building's exterior is only as strong as its weakest joint. When architects and developers experience structural water damage or unsightly warping around windows, the root cause is almost always an ad-hoc approach to edge detailing. By investing in high-density composite materials and following strict rainscreen principles for every corner, foundation base, and window opening, commercial buyers can ensure the structural integrity of the building. This systematic approach drastically reduces future maintenance costs, elevates the final architectural aesthetic, and completely eliminates the risk of catastrophic post-installation warranty claims.
- Why WPC Fencing is Outperforming Traditional Timber?
- Future-Proofing Commercial Exteriors: Surviving Extreme Heat, Fire, and Hurricane Winds
- How to Waterproof WPC Cladding Corners and Windows?
- Why Does Composite Cladding Warp? How to Install WPC Facades Correctly?
- Modern Architectural Design: Achieving the Wood Cladding Aesthetic Without the Upkeep
- Where Classic WPC Decking Works Best: 4 Project Types for Uncapped Composite Boards
- The Architectural Aesthetics of Classic WPC: Embracing Matte Finishes and Biophilic Design
- Will Classic WPC Decking Fade and Mold?